Mapping Garden Microhabitats: A Step-by-Step Field Method
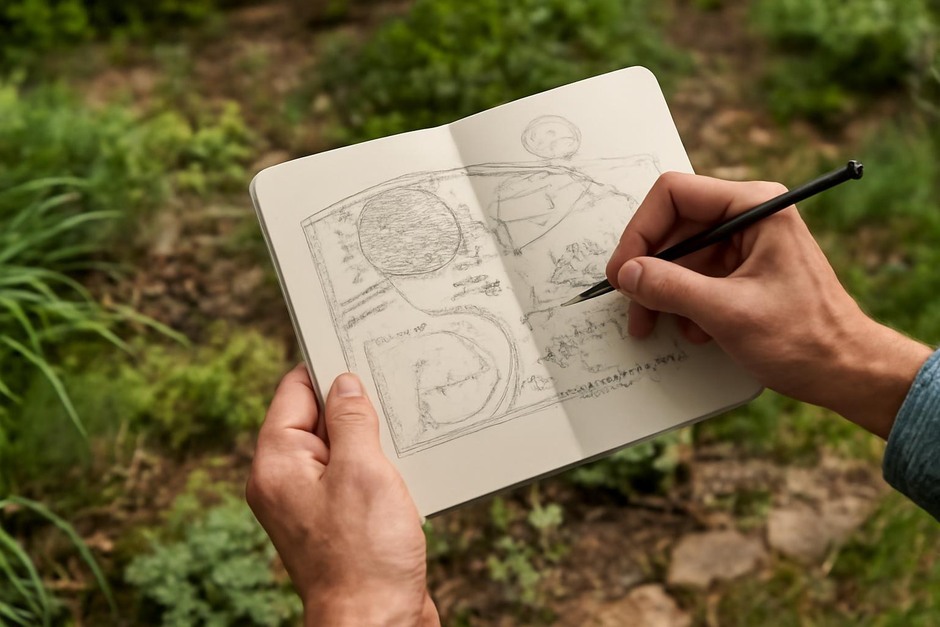
Gardens and yards can appear uniform at a glance, yet within a few square metres you can find a patchwork of conditions: dry gravel under a fence, cool damp soil beneath a shrub, sunlit bare earth by a path. Mapping these microhabitats trains your eye to notice small-scale patterns that shape where plants, insects and fungi appear. The method below is intended as a simple, repeatable field protocol you can use on a single visit or return to across seasons.
Step-by-step method
- Gather simple tools. A small notebook, pencil, smartphone camera, a tape measure or folding ruler (2–10 m), and a clipboard or stiff backing. Optional: coloured pencils for maps, a hand lens (10–20×) for close inspection.
- Define your study area. Pick a manageable patch: a 5 × 5 m bed, a 10 × 2 m strip, or an entire balcony. Record its approximate dimensions and orient your sketch by noting a fixed landmark (house wall, fence post, tree).
- Make a quick base sketch. On a fresh page draw the outline and main features (paths, structures, big plants). Don’t worry about scale precision—label the sketch with north and a few measurements so you can relocate spots later.
-
Walk the area slowly once, noting contrasts. As you move, look for changes in:
- Light (full sun, dappled shade, deep shade)
- Soil surface (bare earth, mulch, gravel, compacted path)
- Moisture (dry, damp, perennially wet)
- Vegetation structure (mossy ground, grassy tussocks, bare patches, woody roots)
Mark these contrasts on your sketch with simple symbols or colours.
- Assign microhabitat labels. Use short codes: SH (shade), SU (sun), DW (dry), WM (wet/mossy), GR (gravel), CO (compost-rich), LN (lawn). Place codes on the map where they apply. Keep the list of codes consistent if you repeat the survey.
- Do targeted observations. Choose 4–8 representative spots (quadrats) that capture the range of conditions. For each spot record: dominant vegetation, surface cover, small animals or signs (webs, droppings, burrows), and a quick microclimate note (warm/cool, breezy/sheltered). Take a photo with the map reference next to it.
- Record time and weather. Note the date, time, recent rainfall, and temperature range (cold/mild/warm). These influence what is visible and help when comparing later visits.
- Finalize the map. Refine your sketch into a clearer map: tidy symbols, add a legend, and annotate curious observations (e.g., “mushroom cluster in mulch, late afternoon shade”). Store photos and notes together so you can match images to map locations.
- Repeat and compare. Visit the same area in a different season or after a rainfall. Use the same codes and map frame to track how microhabitats and their inhabitants change.
Variations
- Balcony or small patio: Reduce the study area to 1–3 m across and treat each container as a patch. Focus on potting mix moisture, root-bound pots, and sunlight angles through the day.
- Wild edge or hedgerow: Use a transect (a straight line) along the edge and record changes every metre. This highlights transitions from grass to scrub to woodland.
- Fauna-focused: Spend three short observation periods at different times (morning, midday, dusk) and log visible insects, spiders and shelter sites. Use the microhabitat map to link species to places.
- Soil and moisture emphasis: Add simple tests (feel for texture, squeeze test for moisture) at each quadrat and note whether soil holds shape or crumbles. This helps distinguish compacted zones from friable, well-drained spots.
Troubleshooting
- Maps feel messy or inconsistent: Standardize one small legend and stick to it. Use the same pencil colours and codes each visit to make comparison easier.
- Microhabitat boundaries are unclear: Accept gradual transitions. Mark a zone as mixed (e.g., SU/DW for sunny-dry) rather than forcing a sharp line.
- Few visible animals: Try different times of day and after rain. Also look for indirect signs—cast skins, droppings, webbing and tiny tracks can indicate activity you miss on a quick glance.
- Weather changes records: Record recent weather and avoid comparing a drought day with a wet period without noting that context. Repeating visits is the best way to interpret variability.
- Difficulty relocating spots later: Use permanent landmarks (post, drain cover) in your sketch, and take a photo of the map pinned against a fixed object when you leave to capture scale and orientation.
Mapping microhabitats is less about perfect cartography and more about training attention to subtle environmental differences. Over a few visits you’ll begin to predict where particular plants will thrive, where spring mushrooms first appear, or which patches dry out fastest. The method above is intentionally simple so it’s easy to repeat—observe, record, compare—and learn the small, fascinating rhythms of your garden.